Hiking Kansas: Kanopolis, Mushroom Rock, Sand Hills, and Clinton State Parks

Tuesday, October 30, 2012 , 10 Comments


My tent was feeling lonely and I was restless and overwhelmed with school and so last weekend I loaded up  my tent, picked up a friend, and headed west for a two day camping and hiking trip. The main goal was Horsethief Canyon in Kanopolis State Park and hit some smaller parks along the way. Unfortunately, despite the incredibly low lake level at Kanopolis, the resident beavers were innovative enough to flood the hiking trails--making our journey to Horsethief Canyon impossible on foot--as wet wading would have been reckless with falling temperatures approaching freezing. Regardless it was a beautiful hike and I plan on returning within the next year to complete the journey to the canyon when warmer temperatures will allow for a more responsible crossing. Sunday, we left Kanopolis and briefly hit Kansas's smallest state park, Mushroom Rock, before hiking Sand Hills. Upon returning to Lawrence we made a brief stop at Clinton State Park to check out the waterfall. Overall, temperatures were a little on the brisk side, but it was good to get outside, take some photos, and enjoy the diverse Kansas landscape. 


10 Comments:

Professional Walleye Guide Reed Ylitalo

Tuesday, October 30, 2012 2 Comments


Check out this Youtube video of my friend Reed Ylitalo showcasing his guide business in Northern Minnesota, Wings and Walleyes. I personally have used Reed's services several times and have always been impressed by his ability to put clients on fish, his attitude, and professionalism. You will come away having learned new skills and an enjoyable time in the boat. If you are in the Grand Rapids area check out Wings and Walleyes. For more information, check out his link in the section "Guides I Recommend". 


2 Comments:

White and Norfork Rivers

Saturday, October 13, 2012 , , 3 Comments


My cousin Tom and I headed to Arkansas this past weekend to join the Free State Fly Fishing Club for their annual fall Conclave trip. We fished Saturday, Sunday, and a portion of Monday on both the White and Norfork Rivers. I had never fished the Norfork but I know both Tom and I came away very impressed and probably prefer it to the White River. Fishing on the White was somewhat slow and we never got the low water we were hoping for, with the dam oscillating between 1-2 units throughout the entire weekend. However, not to be discouraged, I brought my kayak, was able to bypass inconsistencies in water levels, and covered a lot of water on the White while floating the entire Norfork. 

Saturday was slow and wet. It rained off and on all day, water was uncooperative, and it was cold. Normally under balmy conditions you hope the fishing will at least make up for it, however this was not the case and fish were hard to come by for most everyone in the club. Tom and I waded for most of the morning and floated from the Dam to Gaston's in the afternoon. I caught one on a pink San Juan and another 3 on Hare's Ears. 


Tom received an early morning casting lesson from Ron prior to hitting the White. 


Geared up and ready to go. 


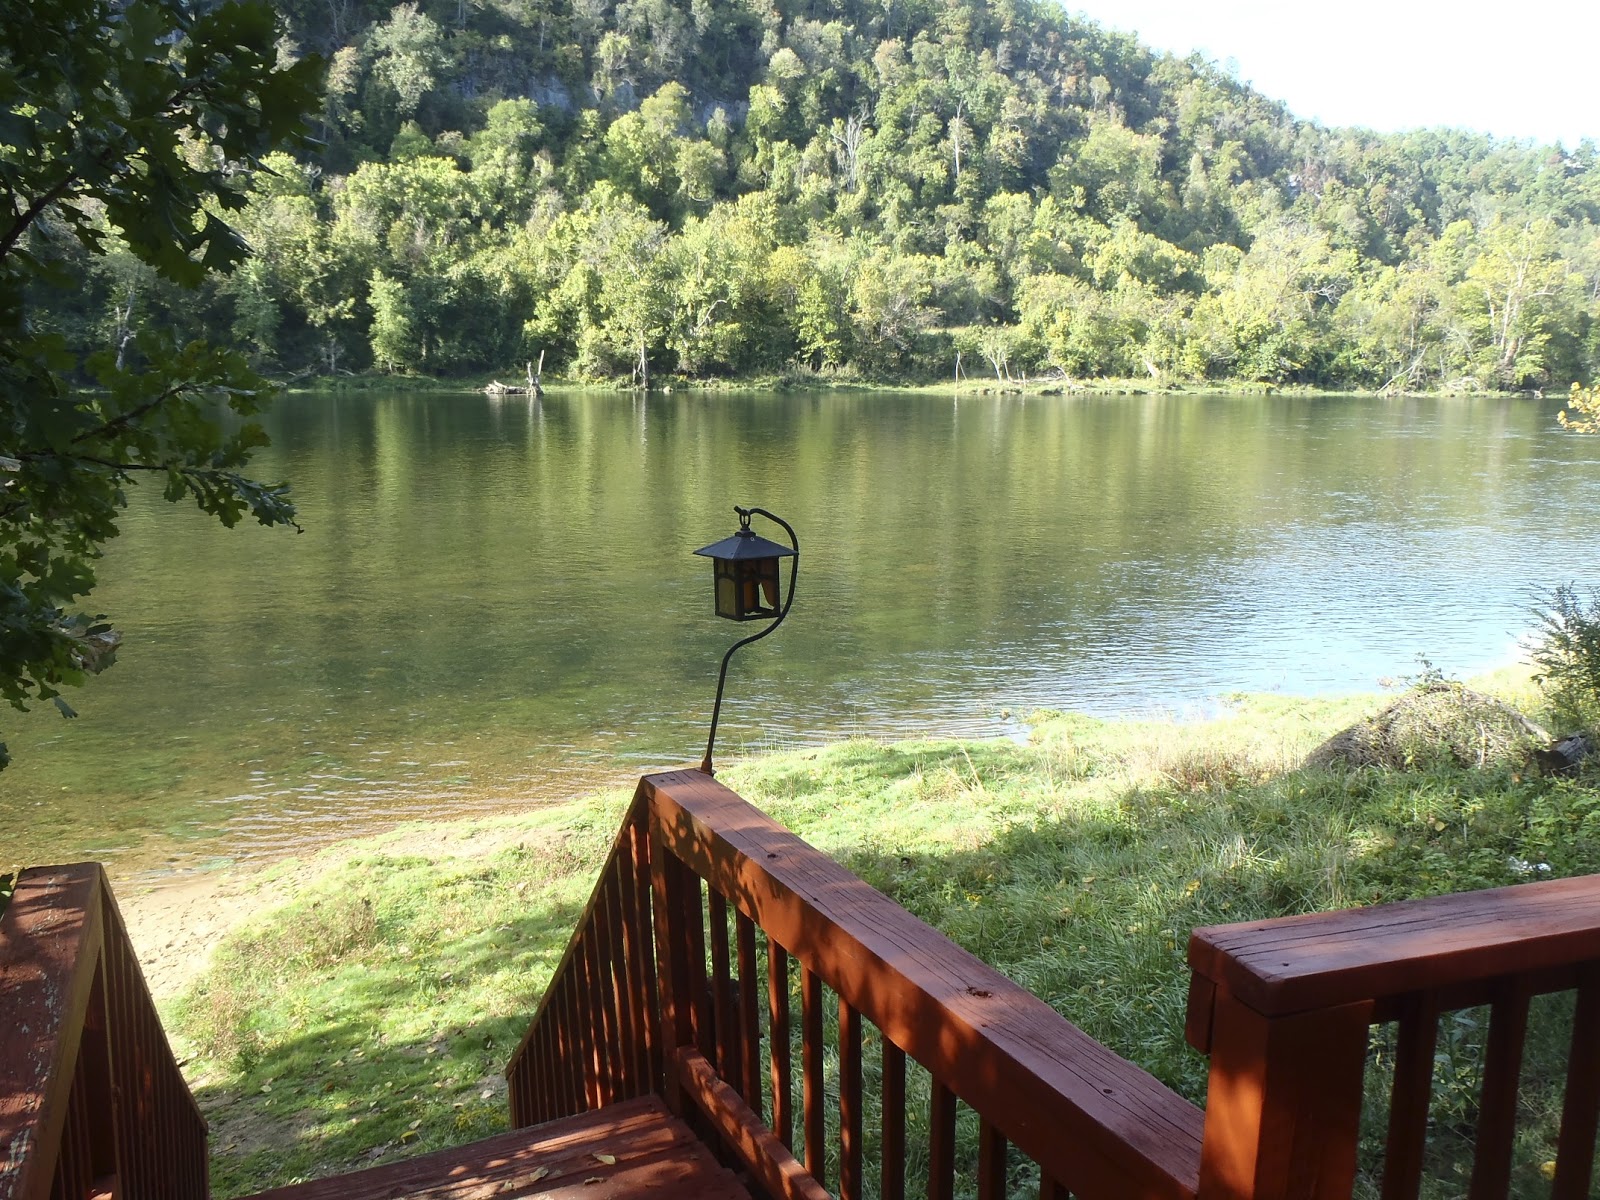
View of the White River from our Cabin. 


They didn't start off too big the first day. 


But they got bigger... 18 inch Rainbow on Hare's Ear. 

Day two Tom and I floated the Norfork from the dam to its confluence with the White River. I was very impressed. With only two access points over 4 miles, it was much less crowded and intimate feeling then the White and often Tom and I were the only two on the river for long stretches at a time. It also helped that I caught my first Cutthroat of my life on a dry, and we took for Browns--always a moral booster. The only thing we miscalculated was the time it would take to float the entire river before nightfall. There were far too many enticing riffles and otherwise great fishable waters to simply hurry our trip, needless to say we didn't get off the water until long after dark. 


Tom started the day off well with a solid brown, Zebra Midge. 


Following Tom's lead I found this Brown just below his. Hare's Ear. 


Tom picked up another beautiful Brown.


Several portions of the Norfork required a portage. 


Taken in just a few inches of water, from the riffles. Crystal Zebra Midge. 


This fish was exactly where he was supposed to be. Just above the confluence of two current lines. You have to love when fish cooperate. 


Beautiful Rainbow. Again in some riffles. From personal observation I have found flashier midge and nymph patterns to be highly effective when fishing turbulent water. 


Unexpected catch and a new species for the life list. Northern Hogsucker. 


This was supposed to be a picture of my first Cutthroat, however just as we were to take the picture he slipped out of my hands... I am still kicking myself. Caught on a BWO. 14"


My second Brown of the trip. 


Tom casting to an uncooperative big 'bow. Though he picked up several mid-size Rainbows in the area. 


Chunky Rainbow. Zebra Midge. 


As night fell, we found it difficult to leave this spot. Happened upon a hatch and the Rainbow's were eager to cooperate. I picked up several on a Yellow Stimulator. 

The final day we didn't fish too long as we needed to head back to Kansas, but borrowed the boat from Copper John's resort and spent some time at the trophy area below Bull Shoals Dam. That is until the water stopped cooperating... 


Fall is just starting to show up on the White. 


Throwing line. 


Tom's last fish of the trip, and his biggest Rainbow. For someone who hasn't fly fished much, he did really well and greatly improved his skill over the course of three days. 


Tom's release. 


My last fish of the trip, I was hoping for something a tad bigger but can't complain much considering what a beautiful day it was. 


As I mentioned they unexpectedly dropped the water on us, allowing me to play Theodore Tugboat back to the boat ramp. 


3 Comments:

How To Make a Loop Connection in Fly Line

Thursday, October 04, 2012 , , 4 Comments


There are two ways to connect your fly line to your leader, either by tying a nail knot or using a loop to loop connection. With a nail knot you invariably need to cut away a portion of your fly line when its time to put on a new leader, for this reason I prefer a loop to loop connection. Many fly lines come with  a loop connection already in place, but not all, and if you fish as hard as I do the manufactures loop may become damaged leaving you put in a new loop connection yourself. 

There are several products on the market which you can buy to put a loop in your line, most look like the chinese finger traps we played with as kids, there is a way however, to put a loop in the line itself without the need to buy an aftermarket product. After trying several methods, the following is my favorite way to do it.

*Note: The following only works for braided core lines, though these are the predominate type on the market.

Materials Needed:

Nail Polish Remover
Sally Hansen Hard as Nails Nail Polish Clear
A Bowl
6/0 Thread, I prefer to match the color of my line as closely as possible
A Thread Bobbin
Ruler
Sharpie Marker
Scissors


Step 1: How your fly line will look prior to starting


Step 2: Take your ruler and measure from the end 3/4", mark there with your Sharpie, from that point measure down another 1 1/4", mark there, and again from this point measure down another 3/4" and mark. It should look like the following. 


Step 3: Pour Nail Polish Remover into a small bowl, until it is 1" deep. Take your fly line and place the first 3/4", where you placed your first mark, in the nail polish remover for two minutes and remove. 


Step 4: Now fold the fly line  between the second and third marks. Dip this section in the nail polish remover for 2 minutes. Remove.


Step 5: On those areas you soaked in the nail polish remover, you should now be able to slip off the outer coating of the fly line leaving only the braided core. If you have difficulty you may need to soak that section additionally. For illustrative purposes I colored the exposed braid orange so you can see what your line should look like. 


Step 6: Placing the two exposed areas alongside one another, take your thread and begin to wrap the two sections together, much like you would place your initial wraps on a hook, continue until the entire is sufficiently wrapped. *Hint: after I place my starting wraps I grab either side of the fly line so the exposed section and thread are in the middle. Then using the weight of the bobbin to your advantage swing the bobbin around the area to cover much faster. 


Step 7: Following this your fly line should look like this. 


Step 8: Take your clear nail polish and coat the entire area of thread, in two coats. Allow to dry and you are finished. What I like about this method is it is not bulky, as the two braided areas are roughly the same diameter together as the fly line itself. 


4 Comments: